Thursday, April 7, 2011

Head Gasket / Top End Rebuild - Day 1

Finally after 6 months of subzero temperatures, today was the first day it was actually warm enough to go outside and do anything on the cars. The poor 560 needs a new head gasket. With only 60k miles on it its rather sad that I have to rebuild the top end just because of the head gasket, but whatcha gonna do?

Spent about 2 hours on it today. Didn't really get far. My back and knees were killing me because of the way I was standing hunched over the car. I think its because the engine is far into the middle of the car and the car is fairly low. Anyhow, today I managed to drain the coolant, removed the spark plug wires, removed the air box and loosened up a few of the petrol lines. While taking off one of the bigger lines going into the fuel distributor I didn't notice the pipe twisting while I was unscrewing it. I'll have to replace it now. No biggie. Will need to buy another 17mm spanner to hold the other end of the lines when loosening them.

I noticed that there was red paint put on some of the bolt heads and fittings. This is a little worrying since I didn't expect anyone to have gone into the engine yet. What does it mean? I know some mechanics do things like that when they strip the bolt. They mark it with paint so they know the next time they go in that the bolt is stripped. So far it seems to be only the intake manifold bolts that have the red paint and one of the lines going into the fuel distributor. I removed one of the red painted bolts and it looked OK to me. I wonder. (UPDATE: The painted marks are done by machines during the manufacturing process to signal the end of a particular program).

All the vacuum lines were pretty brittle and will require renewing. Some of the thermo vacuum-switches snapped off while removing the vacuum lines so they will require renewing as well. Not sure exactly what the switches are for but I should be able to figure that out soon enough.

I'm going to need part numbers for all these things. Anyone have an illustrated PDF parts catalogue they wanna send me?


Friday, November 5, 2010

Alarm keeps going off

On my way back home one day, got in the car, started it and while I was backing out of the parking space, the alarm suddenly went off. And being an old S-Class Mercedes, this isn't the cute, not-to-be-rude type alarms you get on modern cars. This alarm blared with the fury of a Mongolian warlord.

Even with all that sound deadening material, and you know the type, the S-Class sound deadening, designed to mask the sound of small civil wars going on outside, from the military leaders being chauffeured - my ears were ringing in seconds.

It was cold, raining, had no tools (left the tools in what has become the most trouble-free car I own, my XJ12) and I was with friends, so all I could think of was perhaps take some fuses out. Yanked out everything that looked even remotely related, but nothing helped. With no other choice, jumped on the highway and zipped home like lightning with the alarm blaring.

After some searching on benzworld I found the location of the alarm control module and disconnected it. Apparently, it isn't the module that is causing the problem, but some sort of mico-switch in the door that is not deactivating the alarm. In any case, I couldn't be bothered with replacing micro-switches in the doors, so I just removed the alarm module altogether.


Oh and I seem to have found some sort of clamp lying loose under the carpet. No idea what its for.

Tuesday, October 12, 2010

No heat - ACC Monovalve

Another one of those things that needed sorting was that there was no heat. After some search on benzworld, I figured it was either the monovalve or some sort of secondary water pump. The monovalve seemed like the easier one to look at first, so I ordered a monovalve repair kit from autopartsway Canada, cost $70. I wanted to order it from Autohausaz because it was only $30 but because of Authausaz stupid shipping policies, the final cost wasn't worth it.


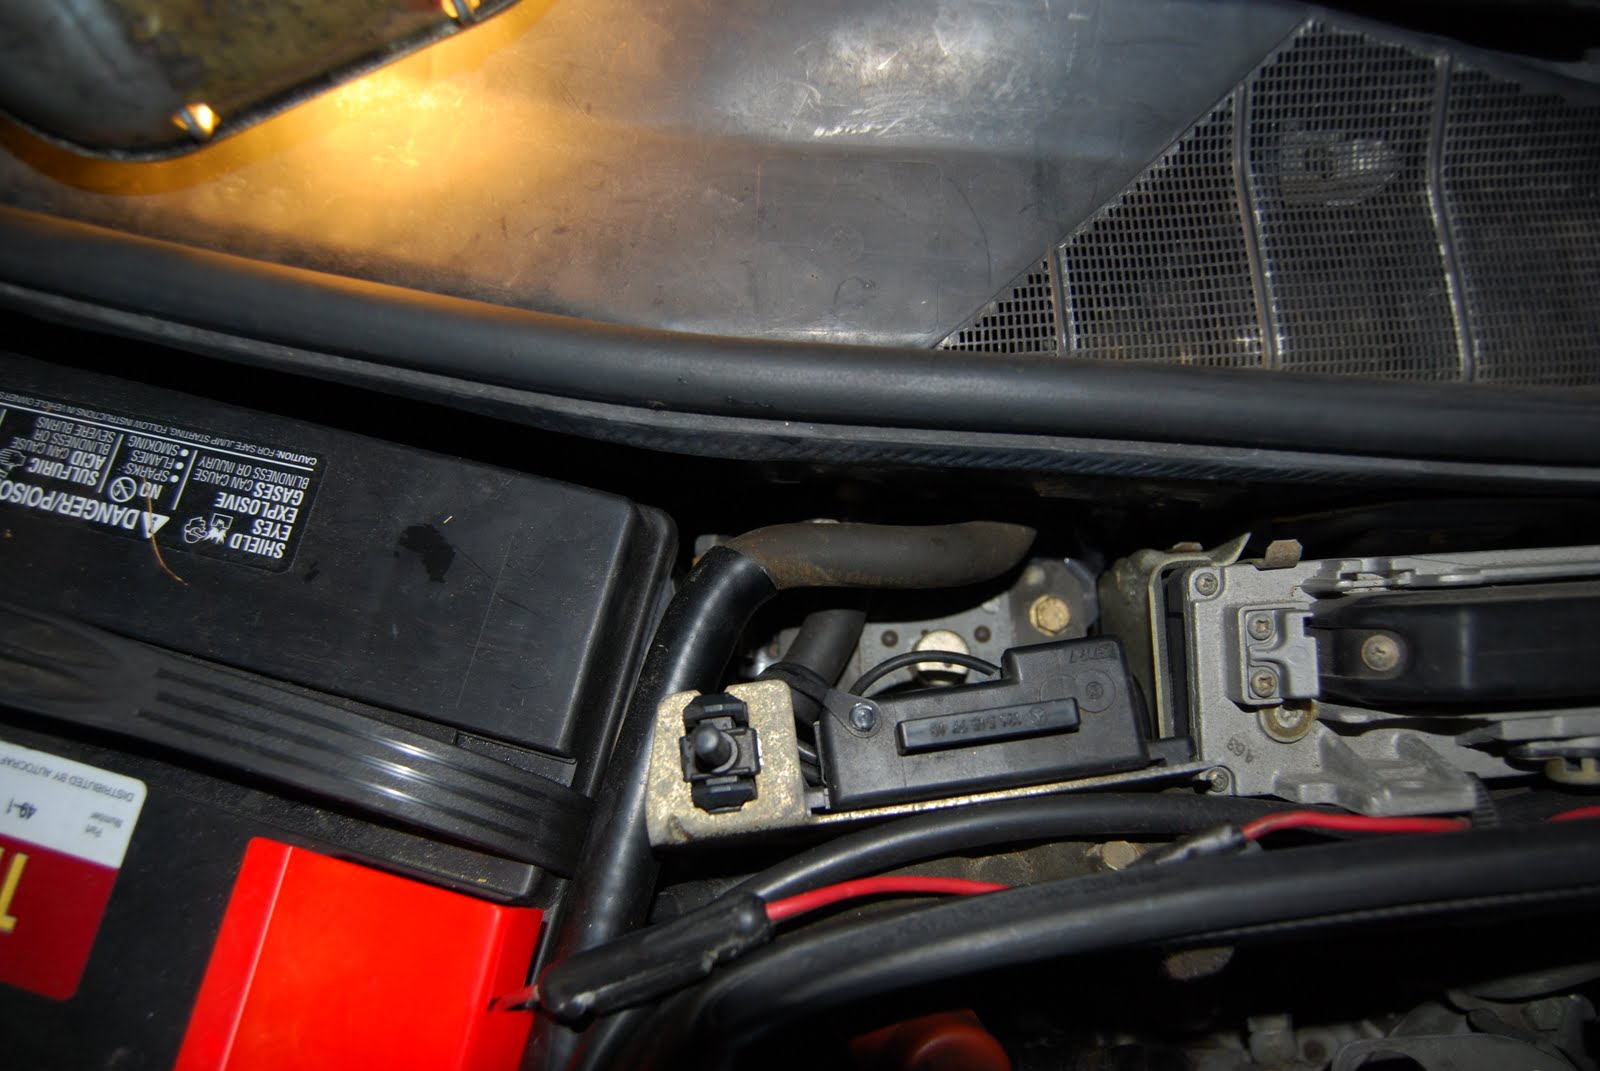
The procedure for changing the monovalve is a lot simpler than what the workshop manual suggests. You don't need to drain the coolant or anything like that. I had to remove that little computer first to get more access, but that was the extent of the complexities.


Even though at this point I was still not 100% sure that a repaired monovalve would sort out the heat, the rubber seal on the old monovale had ruptured and clearly needed replacement.

Be careful when removing or putting back the four screws into assembly. Its impossible to get those screws back if you drop them. I managed to lose one, thankfully, the three remaining screws were enough to hold everything in place.

And yes, wonderful warm heat is working again!

Monday, September 6, 2010

Cruise Controlectomy

When driving home one day the accelerator suddenly crept away from my foot and the car accelerated - Unintended Acceleration! Tapping the brakes brought the accelerator back up. I ignored this incident at first but then it happened again and I knew I had to sort it out.

There are only two things attached to the throttle linkage, the accelerator and the cruise control actuator. Because the cruise control stork was broken and easily jiggled into random modes I knew this had to be the culprit. There is a plug somewhere under the driver's side kick panel that connects the cruise control stork to the cruise computer. I was feeling lazy to take apart the interior to get to the plug so I decided to go the easiest and safest route - remove the cruise control actuator.

Fairly simple procedure. Unplug the actuator, pry off the throttle linkage with a screw driver, and then unbolt the actuator. I also removed the holding bracket as well.


I was worried that I might get a warning light or something telling me the cruise control actuator had been removed but nope, no warning lights. Alls good now. No more unintended acceleration.

Friday, August 27, 2010

Changing rear sway bar links

Ever since I got the car, its had a horrible clunking sound from the rear suspension when going over bumps. Its almost as if there was loose firewood in the trunk. Being equipped with Mercedes' Self-Levelling-Suspension (SLS), its not an easy or cheap thing to troubleshoot and repair.

The sway bar links were pretty worn, and they're less than $20/each, so I decided to renew them. The clunking sound isn't due to the links but they needed to be renewed anyway


The clunking sound is either caused by the hydropneumatic shocks or the accumulator air cells (a.k.a "spheres"). The "test" for working spheres is to press down the rear suspension when the car is running and if the spheres are good, the suspension should go down gently about 1-1/2" and then slowly come back up. If the spheres are worn out the suspension should be stiff and bouncy - not allowing you to press the suspension down more than 1/2".

From what I can deduce from the test is that my spheres are good, but I still doubt the accuracy of it all. I took the car to Young Street Garage to get it diagnosed, and they said it was the shocks themselves. I really doubt this as the car only has 60k miles on it and these SLS rams are not known to be problematic if they're not leaking. And mine are not leaking.

I guess I'll just have to wait till I have enough money to decide whether to renew the air cells (about $200/each) and hope it solves the problem or just gut the entire SLS out and fit conventional shocks and springs. Considering the SLS maintenance schedule (flush every 30k miles, renew accumulators every 60k miles), I'm leaning towards gutting the SLS and installing some good Bilstein shocks and H&R springs all round.

Thursday, August 19, 2010

Changing right tie rod assembly

Took much longer than I expected. Both ends were properly seized. Needed to go buy a Tie-Rod Puller from CanadianTire.


Tuesday, August 10, 2010

Euro headlight conversion

Probably the first thing anyone does when they buy a Bruno Benz is to get rid of those hideous North American Market (NAM) spec headlights. Not only are they an eye sore but also a safety hazard as they have very poor lighting.

The NAM spec headlights make use of 9004 bulb main low beams and H3 fog light bulbs. The Euro lights support both High and Low main beam using H4 bulbs as well as the sane H3 fog light bulbs. The particular Depo branded lights I purchased also support a W5W wedge bulb as a day-time driving light.

Since the Euro lights have more features the connection socket is obviously larger. The NAM spec headlights use a 4 pin socket, whereas the Euro headlights use a 6 pin socket.

North American Spec Headlight Socket
__________
|    0    |
| 1     2 |
| 3     4 |
|_________|

Pin | Colour | Purpose
---------------------------------
1   | Green  | H3 Fog Light ( + 12v )
2   | Brown  | GND
3   | Yellow | 9004 Low beam ( + 12v )
4   | White  | High Beam?? ( + 0.11v ) 

Part Numbers
6pin Female Socket = 006 545 80 28
6pin Socket Cover = 009 545 30 28
Female Socket Pin = 003 545 26 26

Depo Euro Headlight Socket
___________
|    0    |
| 1     2 |
| 3     4 |
| 5     6 |
|_________|

Pin | Colour | Purpose
----------------------
1   | N/A    | Dummy ( Open circuit )
2   | Brown  | GND
3   | Blue   | W5W Day time driving wedge bulb ( + 12v )
4   | White  | H4 High beam ( + 12v )
5   | Yellow | H4 Low beam  ( + 12v )
6   | Red    | H3 Fog light ( + 12v )


The socket and cover are both easily available from any Mercedes dealer and swapping the wires in is pretty simple as well.


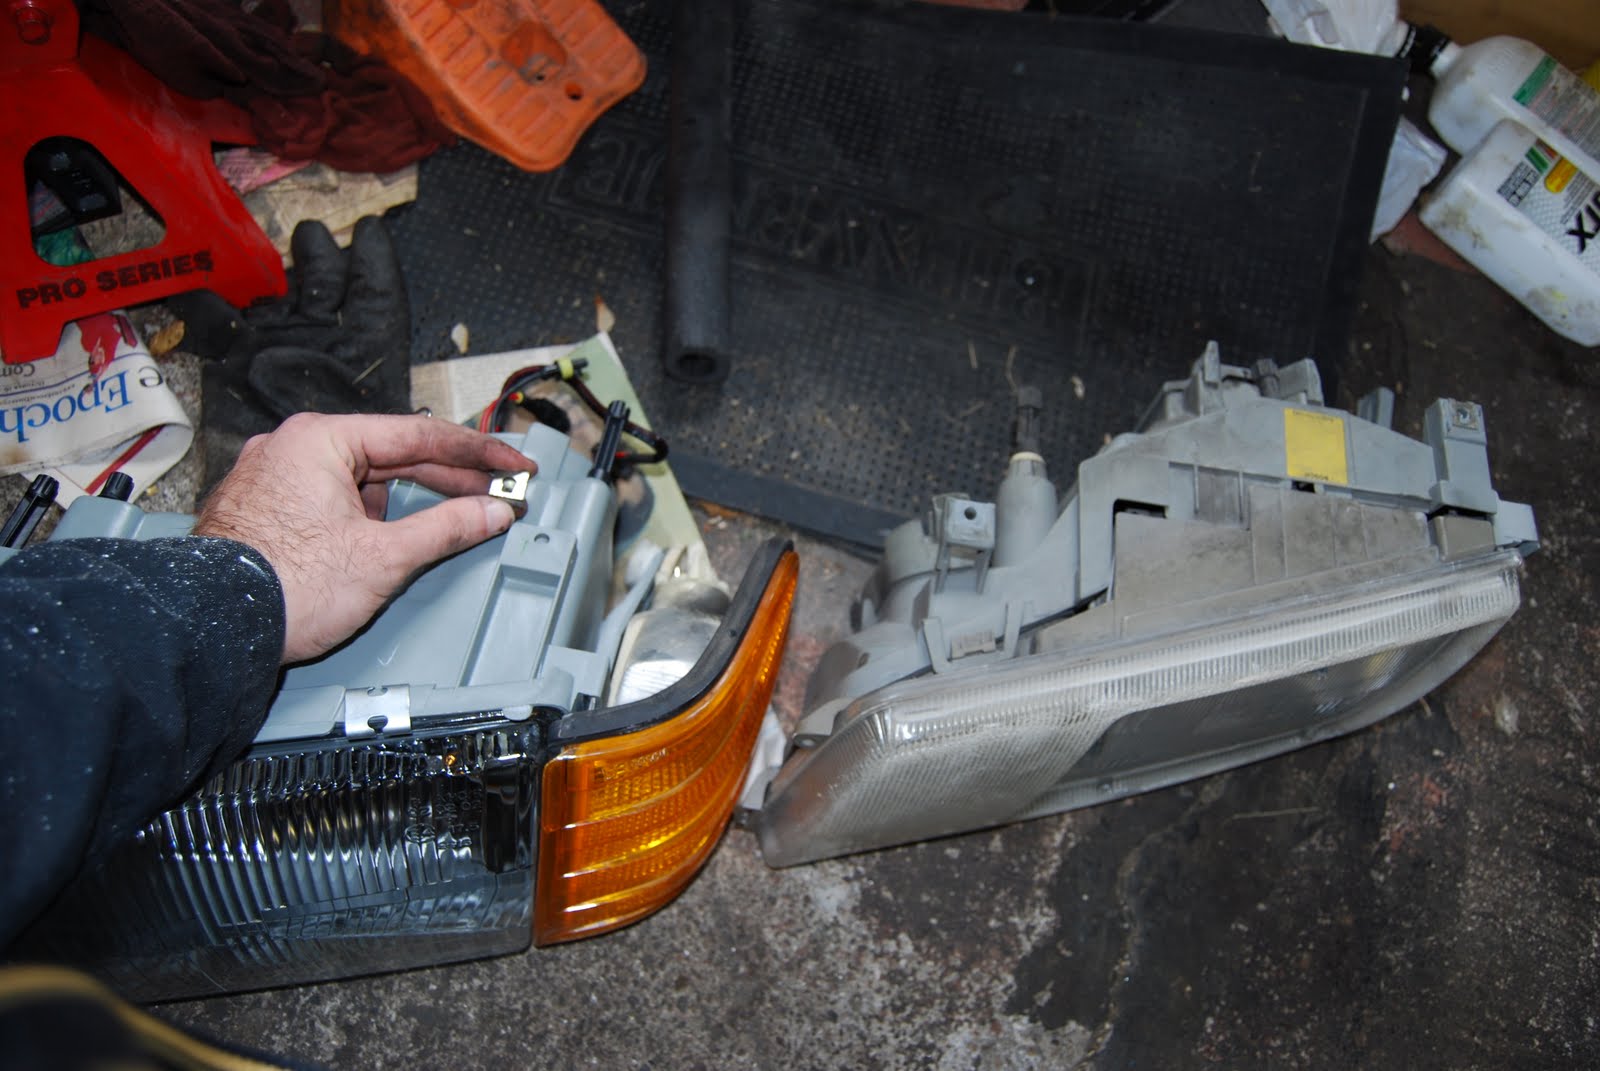
Only nuance during installation is dealing with the headlight washer system. The Euro spec lights don't seem to have the exact same bolt pattern to fit the NAM spec headlight washer assembly. The washer assembly has two screws into the headlight and one into the chassis. I was only able to retain the screw in the chassis as the Euro headlight's screw holes didn't line up. Its holding up pretty well actually.

One thing I hate about the Depo Euro headlights is that they don't supply these little metal screw holders. You have to transfer the ones off the NAM lights. Usually they're pretty rusted out and could do with being renewed.

I had a VVME ($30 Chinese made) HID kit that I originally purchased to install on the 190E a few years ago, but never got round to doing it. Since I needed new bulbs anyway for the 560SEL, I decided to install the HIDs as well with the Euros. The H4 bulbs I've got have both High and Low beam. But only the low beam is Xenon. I never use the high beam, so that was fine by me. On the passenger's side, I bolted the HID ballast to one of the nuts holding down the coolant expansion bottle. On the driver's side I actually found an unused hole in the fender, so I just put a bolt through it and mounted the ballast there (see pic).

I just need to source some yellow halogen H3 bulbs for the fog lights now. Colour temperature on the HIDs is 5000k (Pure white).