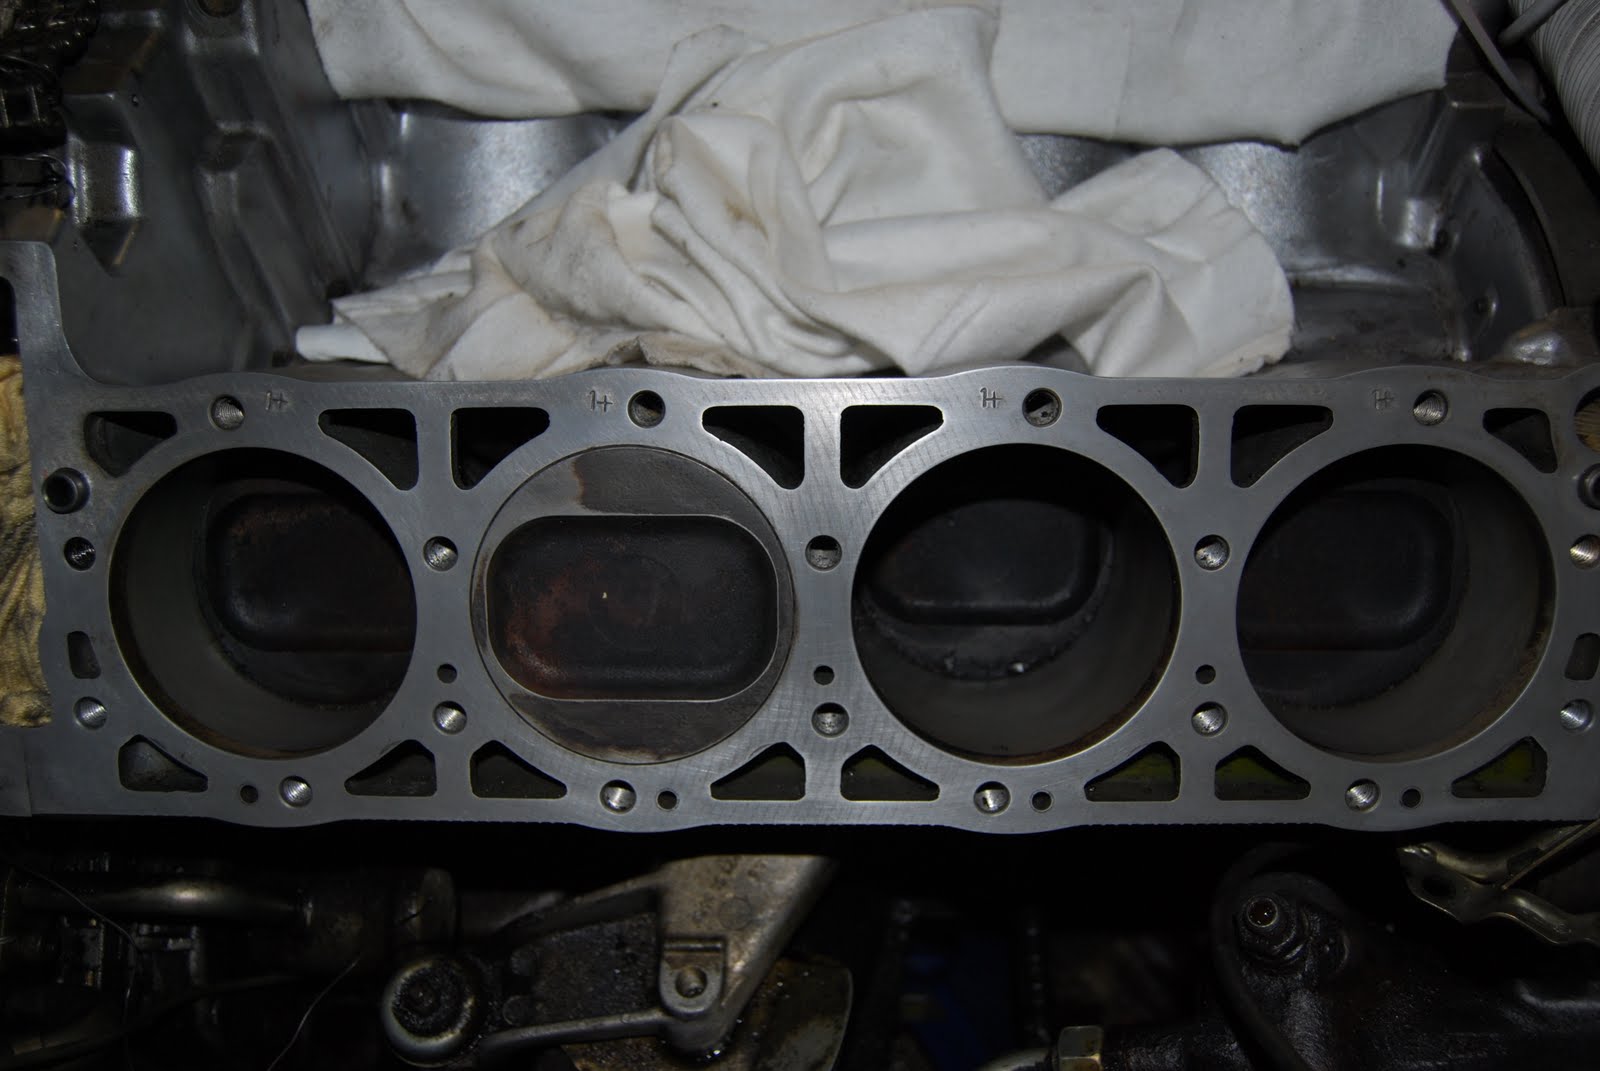
Going to try fit the heads this weekend.
Friday, June 10, 2011
Top End Rebuild - Day 18
Finally all the pieces to complete the heads were ready. Got some RedLine Assembly Lube from TrackWerks and assembled the heads today. Really messy business.
Going to try fit the heads this weekend.


Going to try fit the heads this weekend.
Thursday, June 2, 2011
Top End Rebuild - Resurfaced Heads
Monday, May 23, 2011
Top End Rebuild - Day 16
Spent a few hours today just cleaning the block surface. I did the first pass using ~200grit sandpaper very lightly to remove the old gasket. Then used 400grit, 600grit and finally finished using a scotch pad. Parts of the old gasket were really stubborn. Took forever getting off some of the red colour gasket lining.
Passenger's Side


Driver's Side

Passenger's Side
Driver's Side
Thursday, May 19, 2011
Top End Rebuild - Day 15
Spent about an hour cleaning the surface of the block today. Lightly used an old piece of sand paper that must have been around 200+ grit. Got most of the mating surface pretty clean. Will probably go over it again carefully and remove the rest of the old head gasket.
Still need to find a good torque wrench and the valve spring compressor tool. Found a bunch of cool tools at toolfetch.com but they only ship UPS - which if you don't live in Canada means a big NO NO. Any suggestions where I can get a good torque wrench from given that I'm in eastern Canada?


And then tucked her in for the night :)
Still need to find a good torque wrench and the valve spring compressor tool. Found a bunch of cool tools at toolfetch.com but they only ship UPS - which if you don't live in Canada means a big NO NO. Any suggestions where I can get a good torque wrench from given that I'm in eastern Canada?
Sunday, May 15, 2011
Spark Plug Key
Top End Rebuild - Day 14
Not really worth chalking up as a "day" but I finally have both heads off the car. Had to disjoin the chain on both sides because of the seized guide rail pins. Day 14 marks 30hrs into the rebuild.
Took a bunch of photos of the heads, so that I can verify things are going back in the right way when it comes to timing the whole thing.
Now to find a machine shop to clean up the heads. I don't think I need any repair work done. The engine ran sweet before the rebuild - it was just the head gasket that was leaking.
Perhaps I should just have the valve stem seals replaced? Any suggestions on what sort of work I should have done for 22 year old heads with 60k miles on them?


And this is our 3 year old peach tree.
Took a bunch of photos of the heads, so that I can verify things are going back in the right way when it comes to timing the whole thing.
Now to find a machine shop to clean up the heads. I don't think I need any repair work done. The engine ran sweet before the rebuild - it was just the head gasket that was leaking.
Perhaps I should just have the valve stem seals replaced? Any suggestions on what sort of work I should have done for 22 year old heads with 60k miles on them?
Friday, May 13, 2011
Top End Rebuild - Day 13
Must have spent about 4 hours on the car today. It's amazing how much time goes by and how little you accomplish when working on a 560SEL. Its like a black hole. You do two jobs and days go by in the real world. Figured out how to get the P/S pump mounting bracket off - there was one more bolt hiding under the grease. Took like half an hour trying to figure out why it wasn't coming off.
Had to take off the driver's side secondary firewall in order to reach bolts #18 and #17. Was more work than the passenger's side. Lots of little connectors and things on the driver's side.
The top guide rail pin on the driver's side seems seized as well. Instead of my bolt snapping inside like the passenger's side, the threads in the pin stripped out this time. Annoying. Going to have to split the chain on the driver's side as well. Will need to join it again when I come to rolling in a new chain. I've ordered a master link separately for this.
Spent the bulk of the time on trying to remove the driver's side exhaust manifold from the car. Its already fully unbolted, but there are two studs in place, so it's not sliding off. I managed to get the front section off with a lot of fettling, but I gave up trying to get the rear part out. Its just not possible without removing the studs. And how do you remove the studs when there is barely any space there to fit a few nuts on it? I think I need a fancy stud remover tool or something.
Started taking off the driver's side heads bolts, did #18, 17, 16, 15, 14, 13. Will do the rest next time.
Had to take off the driver's side secondary firewall in order to reach bolts #18 and #17. Was more work than the passenger's side. Lots of little connectors and things on the driver's side.
The top guide rail pin on the driver's side seems seized as well. Instead of my bolt snapping inside like the passenger's side, the threads in the pin stripped out this time. Annoying. Going to have to split the chain on the driver's side as well. Will need to join it again when I come to rolling in a new chain. I've ordered a master link separately for this.
Spent the bulk of the time on trying to remove the driver's side exhaust manifold from the car. Its already fully unbolted, but there are two studs in place, so it's not sliding off. I managed to get the front section off with a lot of fettling, but I gave up trying to get the rear part out. Its just not possible without removing the studs. And how do you remove the studs when there is barely any space there to fit a few nuts on it? I think I need a fancy stud remover tool or something.
Subscribe to:
Posts (Atom)